

Why Nail Art Instruments Matter More Than Talent
Nail art is no longer just a weekend hobby. It’s a booming industry. The global nail salon market was estimated at USD 8.8 billion in 2024 and is expected to grow to USD 13.7 billion by 2034. That’s not a trend that’s a movement. And behind every gorgeous set of nails is a set of quality nail art instruments doing the real work.
Whether you’re a beginner building your first kit or a professional looking to upgrade, choosing the right tools is where great nail art begins. This guide breaks down every instrument you need, what it actually does, and why skipping it is a mistake you’ll regret mid-design.
The Foundation: Basic Nail Art Instruments You Can’t Skip
Before you touch a brush or rhinestone, your nails need to be properly prepped. Think of this as building a house you don’t skip the foundation just because walls are more exciting.
Nail Clippers and Files
Professional-grade nail clippers feature stainless steel construction with precise cutting edges for clean, even trimming. Glass nail files provide superior control over nail shaping compared to traditional emery boards, with grit ratings ranging from 100 to 400 for different filing needs.
Glass files are worth the small upgrade. They reduce nail splitting and last far longer than disposable emery boards.
Cuticle Pushers and Nippers
Cuticle pushers remove excess skin around nail beds, giving your polish a cleaner, longer-lasting edge. Skipping this step is like painting over a bumpy wall it never ends well.
The Base Coat
Not a physical instrument, but absolutely part of your toolkit. A good base coat protects the nail, extends polish life, and prevents staining. It’s the unsung hero of every flawless manicure
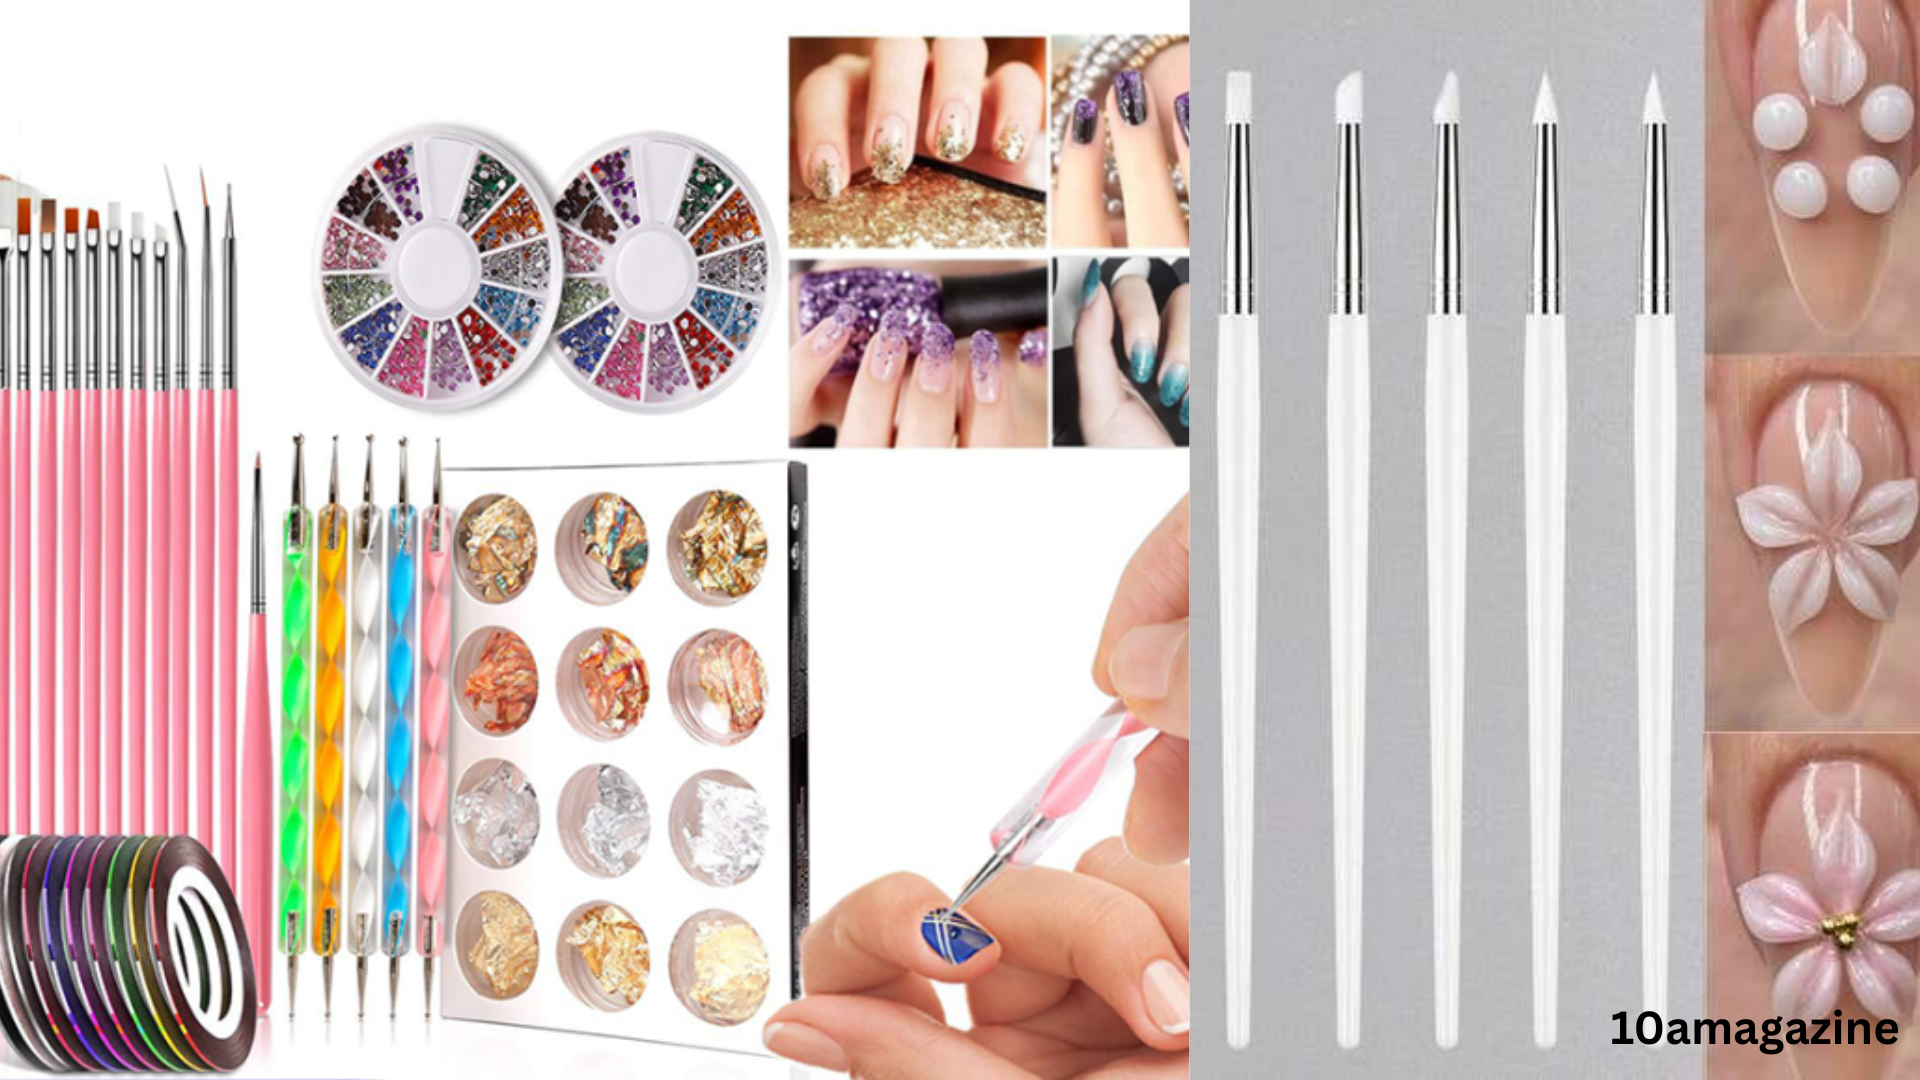
Nail Art Brushes: The Heart of Every Design
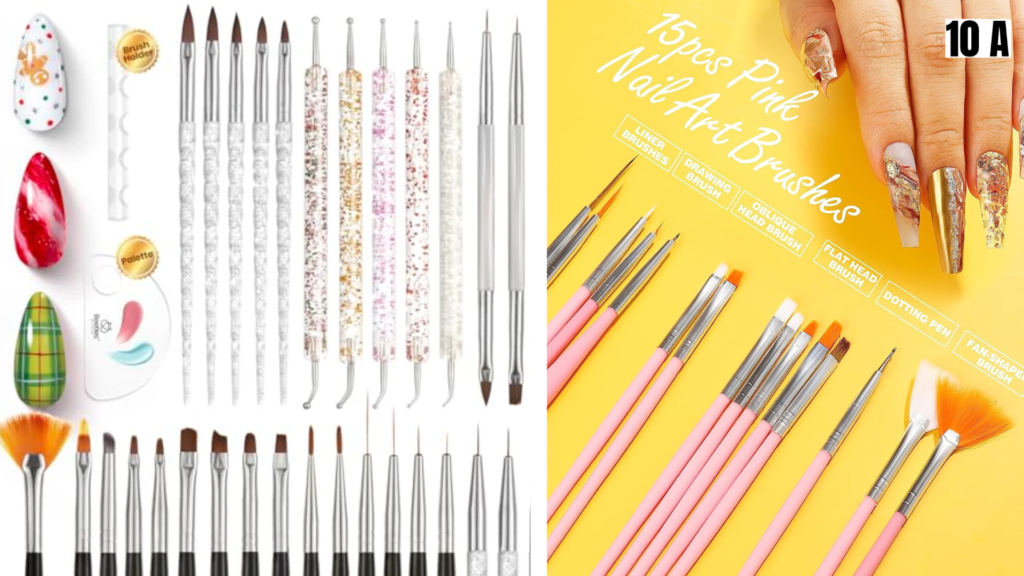
The foundation of any great nail art design is a quality set of liner brushes. Look for brushes with ultra-fine tips 0.2mm is ideal that allow you to create delicate lines, intricate patterns, and detailed artwork.
If nail art were cooking, brushes would be your knife. Everything else is seasoning.
Types of Nail Art Brushes and What They Do
Liner/Striping Brushes These long, thin brushes are designed for creating straight lines, French tips, and geometric patterns. Striping brushes create thin, straight lines or geometric patterns, detail brushes are perfect for drawing intricate shapes like flowers or swirls, and flat brushes are great for blending colours or creating gradient effects.
Fine Detail Brushes For the tiny stuff. Petals, lettering, micro florals detail brushes make the difference between “wow” and “what is that?”
Fan Brushes Great for ombre, gradient effects, and dusting loose glitter with control.
Kolinsky Acrylic Brushes If you work with acrylic nails, these are non-negotiable. Professional Kolinsky acrylic brushes are crucial for acrylic nail application. Sizes 8–12 are most versatile.
Always clean your brushes after every use. A ruined brush is a ruined design waiting to happen.
Dotting Tools: Small Instrument, Big Impact
Dotting tools make it easy to experiment with patterns and add detail to your nail art designs without requiring advanced skills. Use them to create polka dots, flower petals, or abstract patterns by dipping the tool into polish and pressing gently onto your nail.
The fun fact? You already own a dotting tool. If you don’t have a dotting tool, you can use household items like bobby pins, toothpicks, or the end of a ballpoint pen. But once you use a proper set, you’ll never go back to raiding the junk drawer.
Most sets come with two-ended tools in multiple sizes giving you everything from large bold dots to tiny, precise accents.
Stamping Kits: The Shortcut That Professionals Approve Of Nail stamping is one of those tools that feels like cheating until you realize even professionals use it.
Popular nail art tools include a wide variety of nail art brushes, dotting tools, jelly stampers, design plates, and a manicure kit for trimming and placements.
A basic stamping kit includes:
- Design plates etched metal plates with hundreds of patterns
- A jelly stamper picks up the design from the plate
- A scraper removes excess polish cleanly
The process takes about 60 seconds per nail once you get the timing right. The learning curve is short. The results look like you spent hours.
Striping Tape: The Geometry Teacher of Nail Art
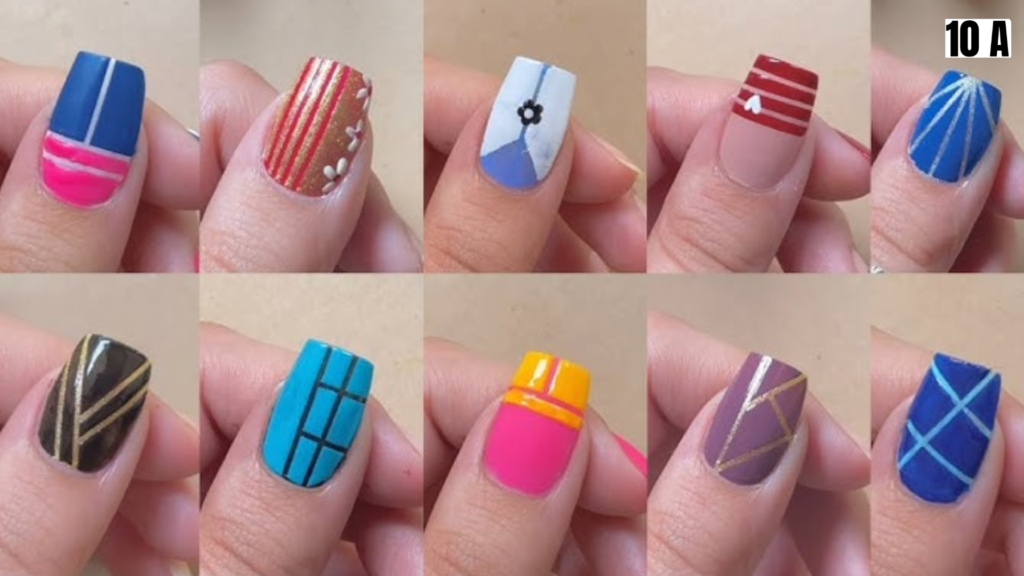
Striping tape measures 0.8mm to 3mm in width and adheres temporarily to create clean lines and geometric patterns.
Apply it to dry nail polish, paint over it in a contrasting colour, then peel before the top coat dries. The result is sharp, clean geometric lines that would make a ruler jealous.
It’s also incredibly cheap. A roll costs almost nothing and lasts months. Few nail art instruments deliver this much value per rupee.
UV/LED Nail Lamps: For Gel Nail Enthusiasts
If you work with gel polish and a lot of people do a UV or LED nail lamp is not optional. It’s the device that turns soft gel into a hard, chip-resistant finish.
For curing gel polish, look for lamps with multiple timer settings and strong wattage for salon-level performance.
LED lamps cure faster than UV (around 30–60 seconds vs 2 minutes) and last longer. Most modern lamps work with both gel and builder gel, making them a versatile investment.
Pro tip: don’t cheap out here. A weak lamp leads to under-cured gel that lifts, peels, and frustrates you endlessly.
Electric Nail Drills: The Professional’s Secret Weapon
Electric nail drills incorporate variable speed settings from 3,000 to 35,000 RPM for precise nail shaping and design work.
These drills are used to:
- Remove gel or acrylic extensions quickly
- Smooth the nail surface before application
- Shape and refine the nail edge
- Clean up cuticles efficiently
For home users, a lower-speed drill (3,000–15,000 RPM) with an ergonomic grip is more than enough. For salon professionals, higher RPM with multiple interchangeable bits gives full flexibility.
They sound intimidating. They’re actually straightforward once you practice on a fake nail first. (Please practice on a fake nail first.)
Nail Art Sponges: The Ombre Effect Maker
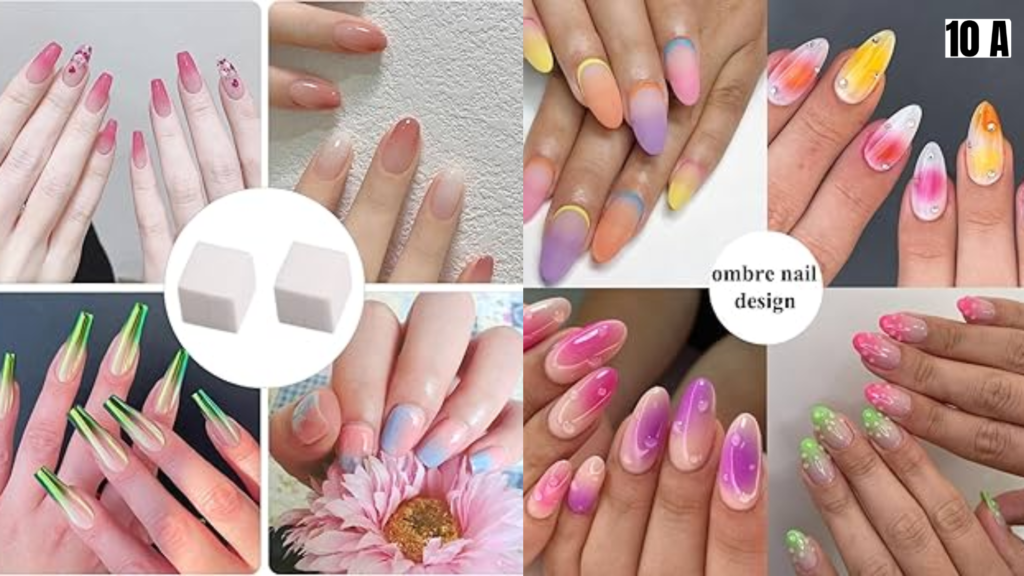
Gradient nails are everywhere right now. The secret behind them? A cheap piece of sponge.
Apply polish onto the sponge, then press onto your nail for a gradient effect. Two or three colours blended on the sponge create a smooth transition on the nail. It looks complex. It takes about 30 seconds.
Makeup wedge sponges work perfectly. You don’t need anything special just any dense sponge with a flat edge.
Nail Art Stickers and Decals: Maximum Impact, Minimum Effort
Nail art stickers are a fun, easy, and quick means to add intricate designs and patterns to your nails without the time and steadiness. They come in a variety of designs and patterns, and you can even get stickers themed for holidays or events.
For beginners especially, stickers are a genuine lifesaver. They’re also surprisingly popular in professional nail art when used creatively layered under gel, combined with hand-painted accents, or used as guides for precise placement.
Tweezers: The Tool You Forget Until You Need It
Tweezers assist with nail art, applying gems, and handling small details.
Try placing a tiny rhinestone at the tip of your nail with your fingers. Now try it with precision tweezers. The difference is embarrassing. Good tweezers with a pointed tip are essential for any nail art involving embellishments, foils, or tiny decals.
Hygiene Tools: The Part That Actually Protects Your Clients
This section matters most for professionals, but home nail artists should pay attention too.
Efficiency, professionalism, and hygiene are the three pillars of a well-prepared nail kit. High-quality tools reflect your commitment to hygiene and detail. Having separate, sanitized tools prevents infection.
Disinfectant solutions, UV sterilizers, or autoclaves are vital for maintaining hygiene.
Never share metal tools between clients without proper sterilization. This isn’t optional it’s a health and legal requirement in professional settings. Stainless steel tools are preferred precisely because they can be fully sanitized.
Building Your Kit: What to Buy First
You don’t need everything at once. Here’s a sensible order for building your nail art instruments collection:
Start Here (Beginner Kit):
- Nail clippers + glass file
- Cuticle pusher
- Liner brush set
- Dotting tool set
- Nail art stickers
- Base and top coat
Next Level:
- Stamping kit with plates
- Striping tape
- Sponge for gradients
- Pointed tweezers
- Mini art palette for mixing
Professional Level:
- UV/LED lamp (for gel work)
- Electric nail drill
- Kolinsky acrylic brushes
- UV sterilizer or disinfectant station
- Dust collector
Always prefer stainless steel tools for durability and rust resistance, and look for ergonomic design for prolonged comfort during use.
A Growing Industry and Your Place in It
The numbers confirm what your Instagram feed already suggests. The global nail care products market was estimated at USD 23.6 billion in 2024 and is expected to grow to USD 38.9 billion by 2034.
Rising consumer awareness, the surge in popularity of nail art and customization, and the growing influence of social media are all helping drive this growth globally.
Whether you’re building a home nail care routine or launching a professional nail career, the right nail art instruments are your most important investment. Good tools don’t just make beautiful nails they make the process faster, cleaner, and actually enjoyable.
Meta Description: Discover the essential nail art instruments every beginner and professional needs. From brushes to UV lamps, this complete guide covers every tool with tips, facts, and honest advice.